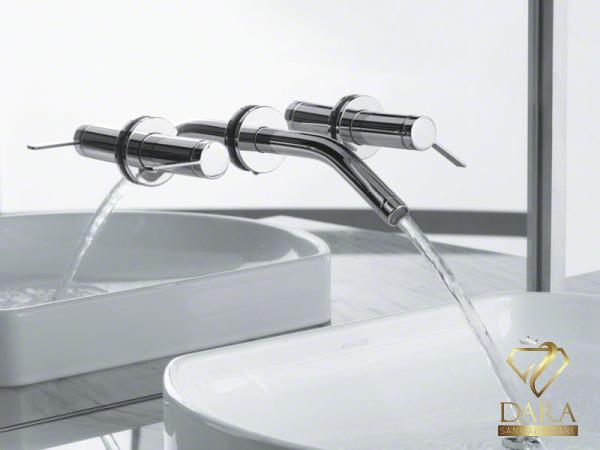
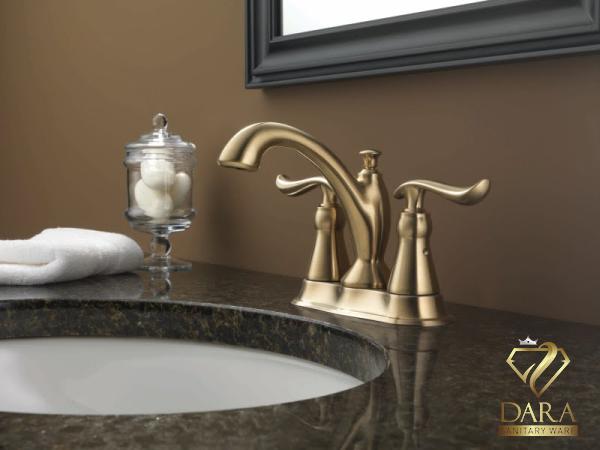
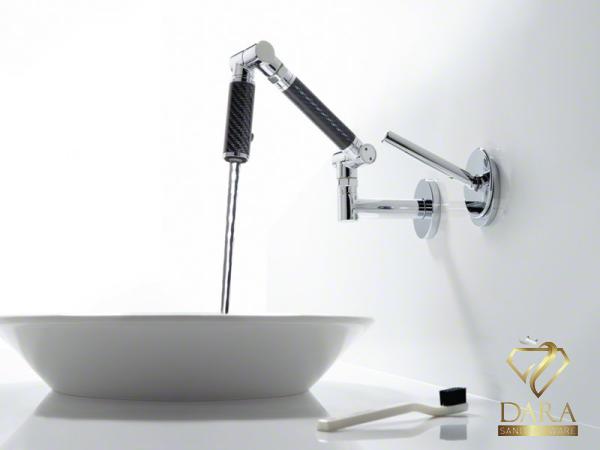
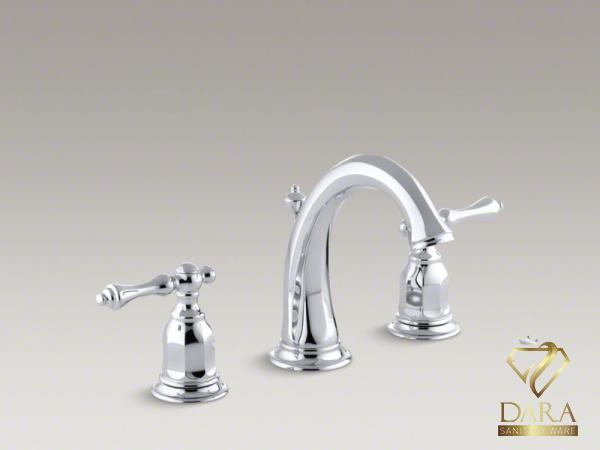
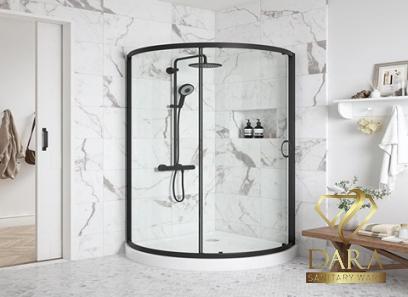
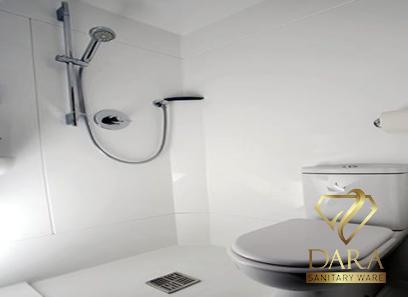
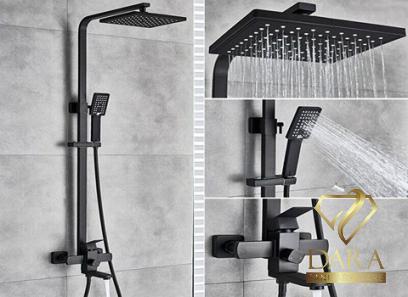
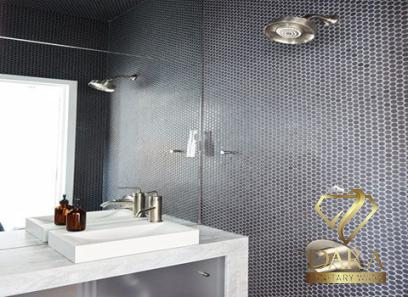
The bathroom faucet is an essential component of any household, ensuring a steady flow of water for daily activities. Over time, these faucets may require maintenance or replacement, which often necessitates the removal of the quick connect feature. In this article, we will delve into the world of bathroom faucet quick connect removal, providing you with expert tips and step-by-step instructions to tackle this task with ease. 1. Gather the Necessary Tools: Before initiating the removal process, it is crucial to gather the required tools. This includes an adjustable wrench, pliers, a basin wrench, and a bucket or towel to catch any water that might drip during the process. 2. Turn Off the Water Supply: To ensure a safe and smooth removal process, it is essential to shut off the water supply to the bathroom faucet. Locate the shut-off valve under the sink and turn it clockwise until it is fully closed. Open the faucet to drain any remaining water in the system.
.
 3. Disconnect the Water Supply Lines: Using an adjustable wrench, gently loosen the nuts connecting the water supply lines to the faucet, both on the hot and cold sides. Place a bucket or towel underneath to catch any residual water that may drip. 4. Remove the Faucet Handle: Most bathroom faucets are connected to a handle via a set screw. This screw can be found either underneath a decorative cap or on the side of the handle. Use an Allen wrench to loosen and remove the set screw. Once removed, the handle can be lifted off carefully. 5. Unscrew the Faucet Base: Underneath the handle, you will find the faucet base or escutcheon. Remove the screws securing the base using a screwdriver or an appropriate tool, depending on the faucet design. Carefully lift the base off to expose the valve assembly.
..
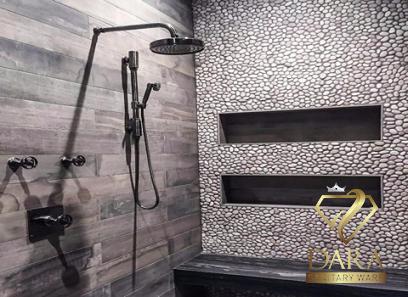
 6. Disconnect the Quick Connect Fittings: The quick connect fittings are usually located on the bottom of the faucet’s valve assembly. Use pliers to squeeze the tabs on either side of the quick connect fittings. While squeezing the tabs, pull the fitting away from the valve assembly. Repeat the process for each quick connect fitting. 7. Remove the Faucet: With the quick connect fittings detached, gently wiggle the faucet assembly to loosen it from the sink or countertop. Once loose, carefully lift the faucet assembly out and set it aside. 8. Cleaning and Reinstallation: After removing the faucet, take the opportunity to clean the area, removing any dirt or debris that may have accumulated. If replacing the faucet, follow the manufacturer’s instructions for installation.
…
 If reinstalling the same faucet, ensure all components are aligned correctly before securing them back in place. Conclusion: Removing a bathroom faucet quick connect may seem daunting, but armed with the proper tools and knowledge, it becomes a manageable task. By following the step-by-step guide provided in this article, homeowners and DIY enthusiasts alike can confidently tackle this process, ensuring the smooth removal and reinstallation of their bathroom faucet. Remember to exercise caution, turn off the water supply, and be mindful of any potential water leakage during the process.


Your comment submitted.